Photographing distant objects, like the moon, can be difficult. There are eight phases of the moon. Each phase is beautiful to capture, be it the half-moon, or an exciting event, like a Lunar Eclipse.
However, taking a photograph of the moon without pre-planning might frustrate you because you will end up capturing a white blob. But, never let those troubles stop you, because photographing the Moon is a great learning experience, especially if you want to experiment with your skills.
To help you get the best images, below-given is the step by step, detailed guide and a checklist about moon photography. Read on to learn more.
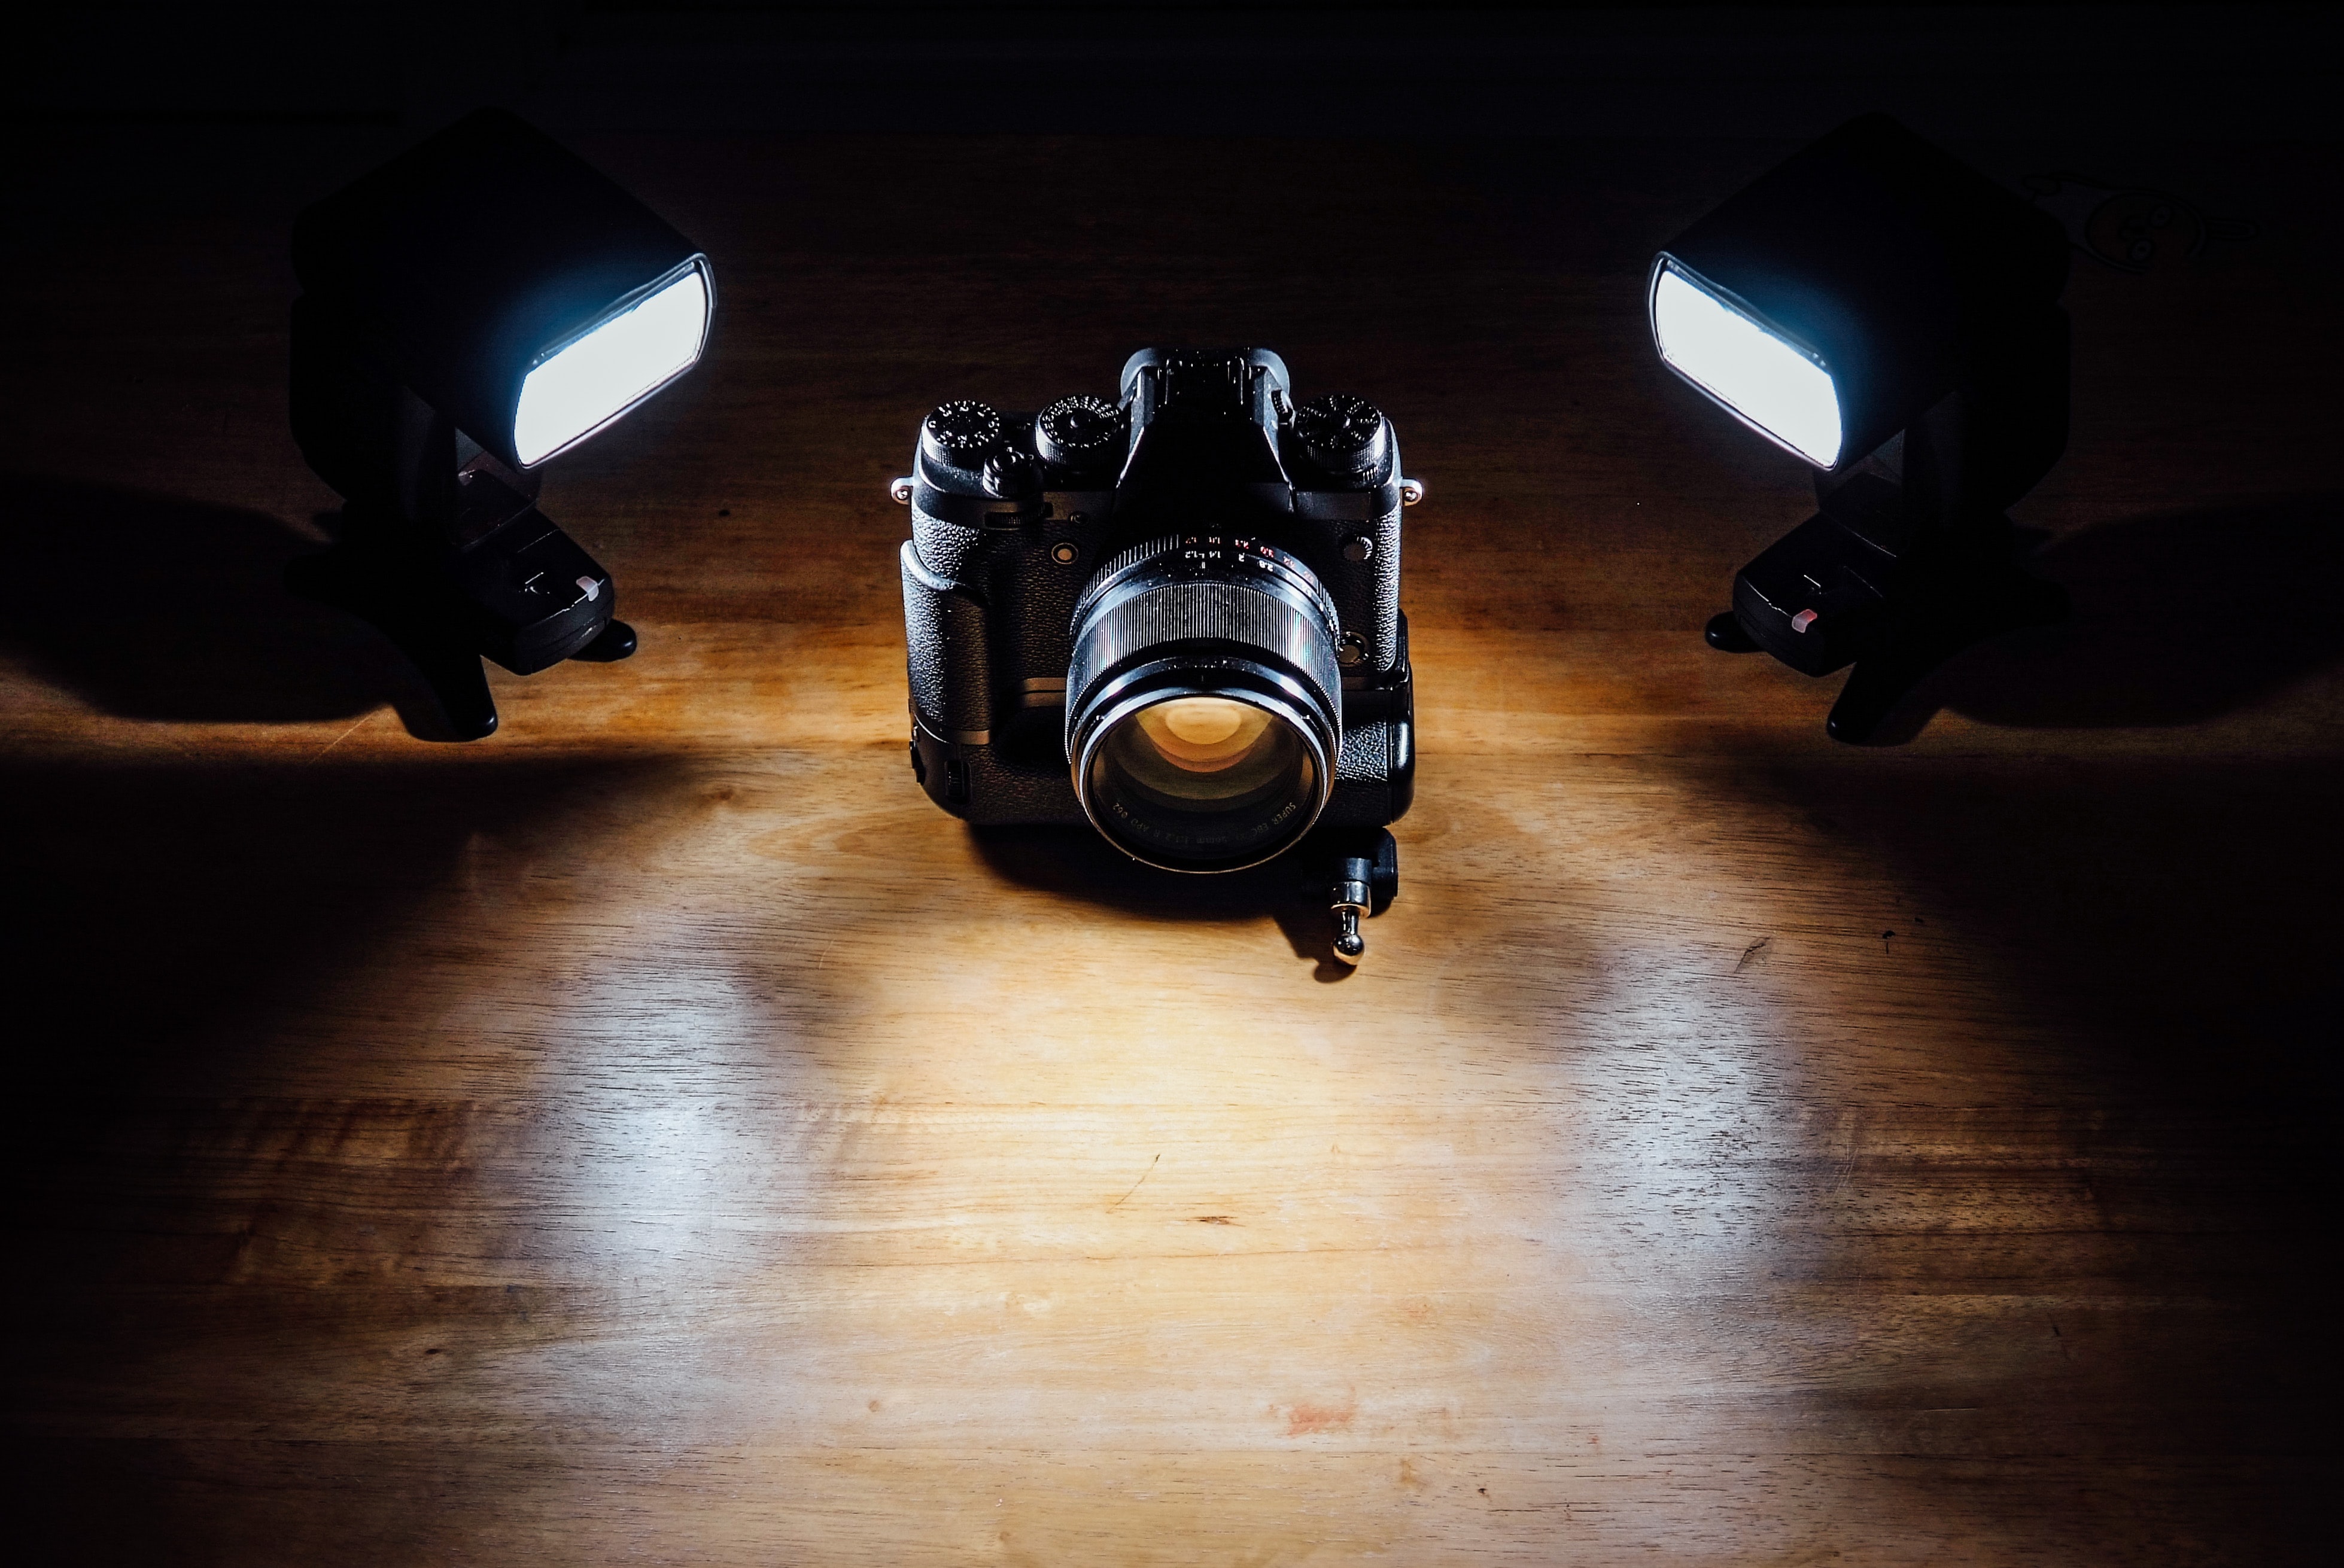
Features of DSLR Cameras to Know
Whether you are a beginner or an advanced photographer, different DSLR features are highly accessible to capture great shots. However, to get better clarity, you can use an advanced camera, as it offers great exposure controls.
Choose the Longest Telephoto Lens
First of all, you should have a camera with a higher focal length so you can better picture. A telephoto lens increases the focal length and shoots faraway pictures with precise details. A focal length of 200mm – 300mm offers a perfect balance of zoom.
Know the Shutter Speed
It would be best to plan your shot beforehand as the moon moves, and it's the brightest subject. The small flap in front of the camera sensor is the shutter.
Whereas the shutter speed is the timing in which the shutter opens and shuts. So, making the right use of shutter speeds easily captures a sharp and precise picture.
How to Plan a Perfect Moon Picture
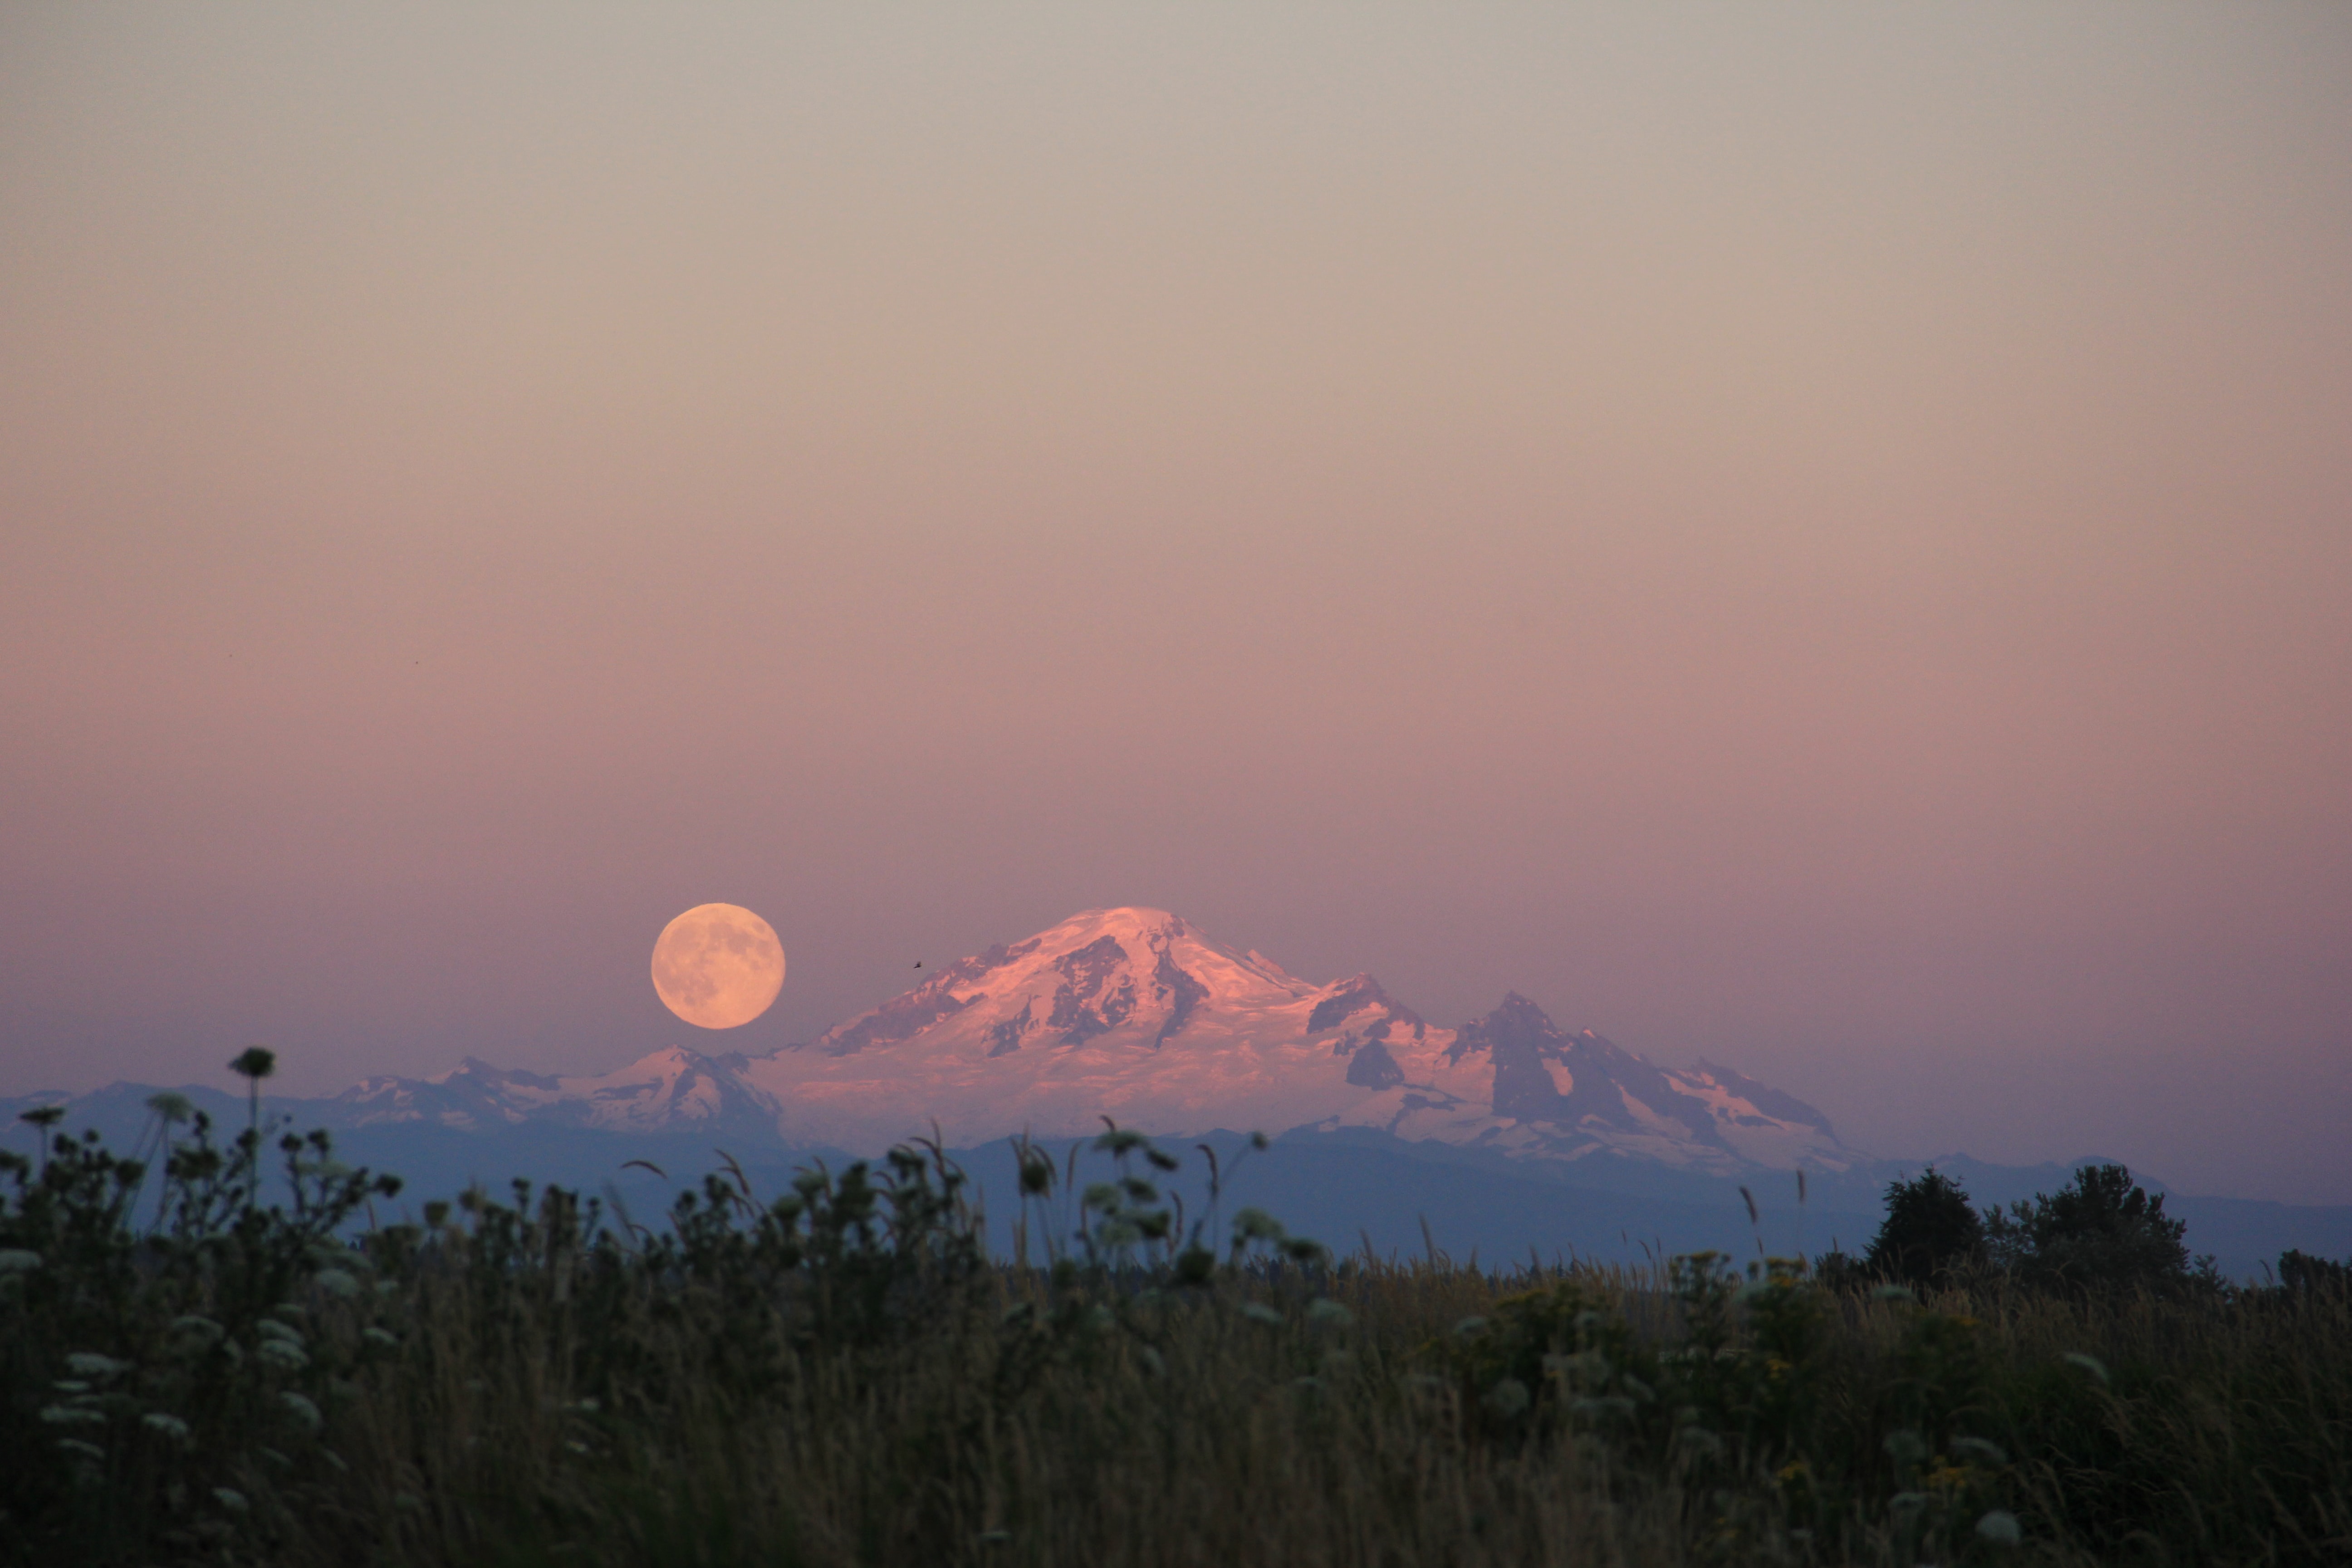
Firstly, you must find the timings of moonrises and moonsets, as these are the great times to get incredible pictures. Secondly, scout a location having few clouds to add drama in the frame. You can also check the moon phases calendar to get a better overview.
Whether you wish to click a bright super moon picture or a rich dark blue one, planning location and timing is essential. Also, a subtle balance between experimentation and composition is the key to take a perfect shot.
Steps to Capture a Perfect Picture of the Moon
Using a tripod is important when taking any picture, and if it's the moon, then it's even more essential, as the subject is far away. Choose a stable surface, and you can also use a remote to minimize camera movement.
Maintain the ISO Balance
ISO plays an essential role in brightening or darkening a picture. Through ISO, you can become more flexible about your aperture and shutter speed. As you are clicking the moon in a darker environment, keep the ISO setting between 100 and 200 to get a brighter picture.
Go for Manual Exposure
Through manual exposure, you will get complete control of essential camera settings, like ISO, aperture, and shutter speed. Whether you want to underexpose or overexpose the Moon, a manual set up is the best option to go for.
Make Use of Flash Highlights
To add some drama to the subject, you can make use of flash. You can either set the exposure for the Moon or towards the sky or mountains.
Set Up to High Resolution
If you want to click a detailed picture of the moon, always set your camera to the highest resolution. High-resolution photos have more pixels, and you can print it too. Either way, you can also take uncompressed images, as it contains all the files, which you can alter while editing.
Once you are done with all the set-ups, keep shooting as much as you can! Trick around with different angles and shutter speeds to get your perfect shot.
Conclusion
You can also make use of built-in camera effects to take up your moon photography to new heights. For example, use the B&W mode since the moon against the black sky is the best monochromatic image you can ever get!